FROM: UNIX COMMAND LINE
SKILL LEVEL: FIT
Introduction
Manipulating image content on a UNIX system using just the command line is most useful when you are not physically present at the machine on which the images are stored (for instance a small embedded computer attached to a camera). It’s also very handy on a workstation or laptop when you simply when you want to quickly process hundreds or thousands of images in directories. Commands can also be chained together to create image-processing pipelines.
We’ll use the well-known ImageMagick suite of tools here as they are mature and available for a broad range of UNIX and UNIX-like operating systems and processor architectures.
Installing ImageMagick
We need to install ImageMagick as unlike many other CLI tools it doesn’t ship with UNIX and UNIX-like systems.
Linux
On a Debian-based GNU/Linux system (like Ubuntu, Crunchbang or indeed Debian itself) you can simply install it like so:
sudo apt-get install imagemagick
OS X
OS X users should set up their machines with MacPorts and then they can install it in a similar way to that of Debian-based Linux systems, with the exception that it downloads source-code and compiles the software before installing:
sudo port install ImageMagick
Format conversion of images
One of the many ImageMagick CLI tools is convert and can be used to convert from one image format to another. Here’s we convert a JPEG image into a new PNG image:
julian@ce:~/images/tmp$ convert orchid.jpg orchid.png
A huge number of formats are supported. To get a list supported on your system, use the ImageMagick utility identify like so:
julian@ce:~/images/tmp$ identify -list format
Finding information about images
identify can also be used to find information about our image, including type, filesize and image size:
 julian@ce:~/images/tmp$  identify orchid.jpg
 orchid.jpg JPEG 1600x1200 1600x1200+0+0 8-bit DirectClass 426KB 0.000u 0:00.000
Resizing images
Images can be resized using convert. Let’s resize our 1600x1200 JPEG image into a 320x240 thumbnail:
julian@ce:~/images/tmp$ convert -resize 320x240 orchid.jpg orchid_thumb.jpg
JPEG thumbnails from a directory of numerous TIFF images
Here thumbnails are made from a folder of numerous large TIFF images.
It’s often desirable to preserve aspect ratio in thumbnails. We can do this with convert -resize without needing to know the image dimensions or aspect ratio by only passing the width argument (ommitting height).
In the same command we use sed to replace “tiff” with “jpeg” (rather than adding “jpeg” to the end of the file name). This makes for a saner filename while simultaneously telling convert to convert the image type.
The end result are 320px wide thumbnail JPEGs for every TIFF image, prepended with “320_” and written out to a newly created thumbs directory:
julian@ce:~/images/TIFF$ mkdir thumbs
julian@ce:~/images/TIFF$ for f in $(ls *.tiff); do convert -resize 320 $f \
thumbs/320_$(echo $f | sed 's/tiff/jpeg/'); done
julian@ce:~/images/TIFF$ ls -l thumbs
total 77072
-rw-r--r-- 1 julian julian 14272 Apr 19 23:13 320_00001.jpeg
-rw-r--r-- 1 julian julian 38283 Apr 19 23:13 320_00002.jpeg
-rw-r--r-- 1 julian julian 49367 Apr 19 23:13 320_00003.jpeg
-rw-r--r-- 1 julian julian 49167 Apr 19 23:13 320_00004.jpeg
-rw-r--r-- 1 julian julian 48813 Apr 19 23:13 320_00005.jpeg
...
NOTE: The "" symbol above is used to line-break the command so that it fits while still functioning in the space available above. If you’re typing it out in a shell in a terminal on your machine, either hit ENTER after that character then copy in the remaining code or omit it altogether, leaving just a space between arguments.
Making an animated GIF from a directory of JPEG images
Here we’ll take a directory of JPEG images (Photos) and in one line produce a 640 pixel wide, looping, animated GIF, with a 50 millisecond delay between images:
julian@ce:~/tmp$ convert -resize 640 -delay 50 Photos/*.jpeg -loop 0 animation.gif
Rotate an image
For demonstration purposes we’ll now work with a large image called datacenter.jpeg, which, let’s assume, was rotated wrongly when it came off the camera attached to the little computer on our quadcopter.
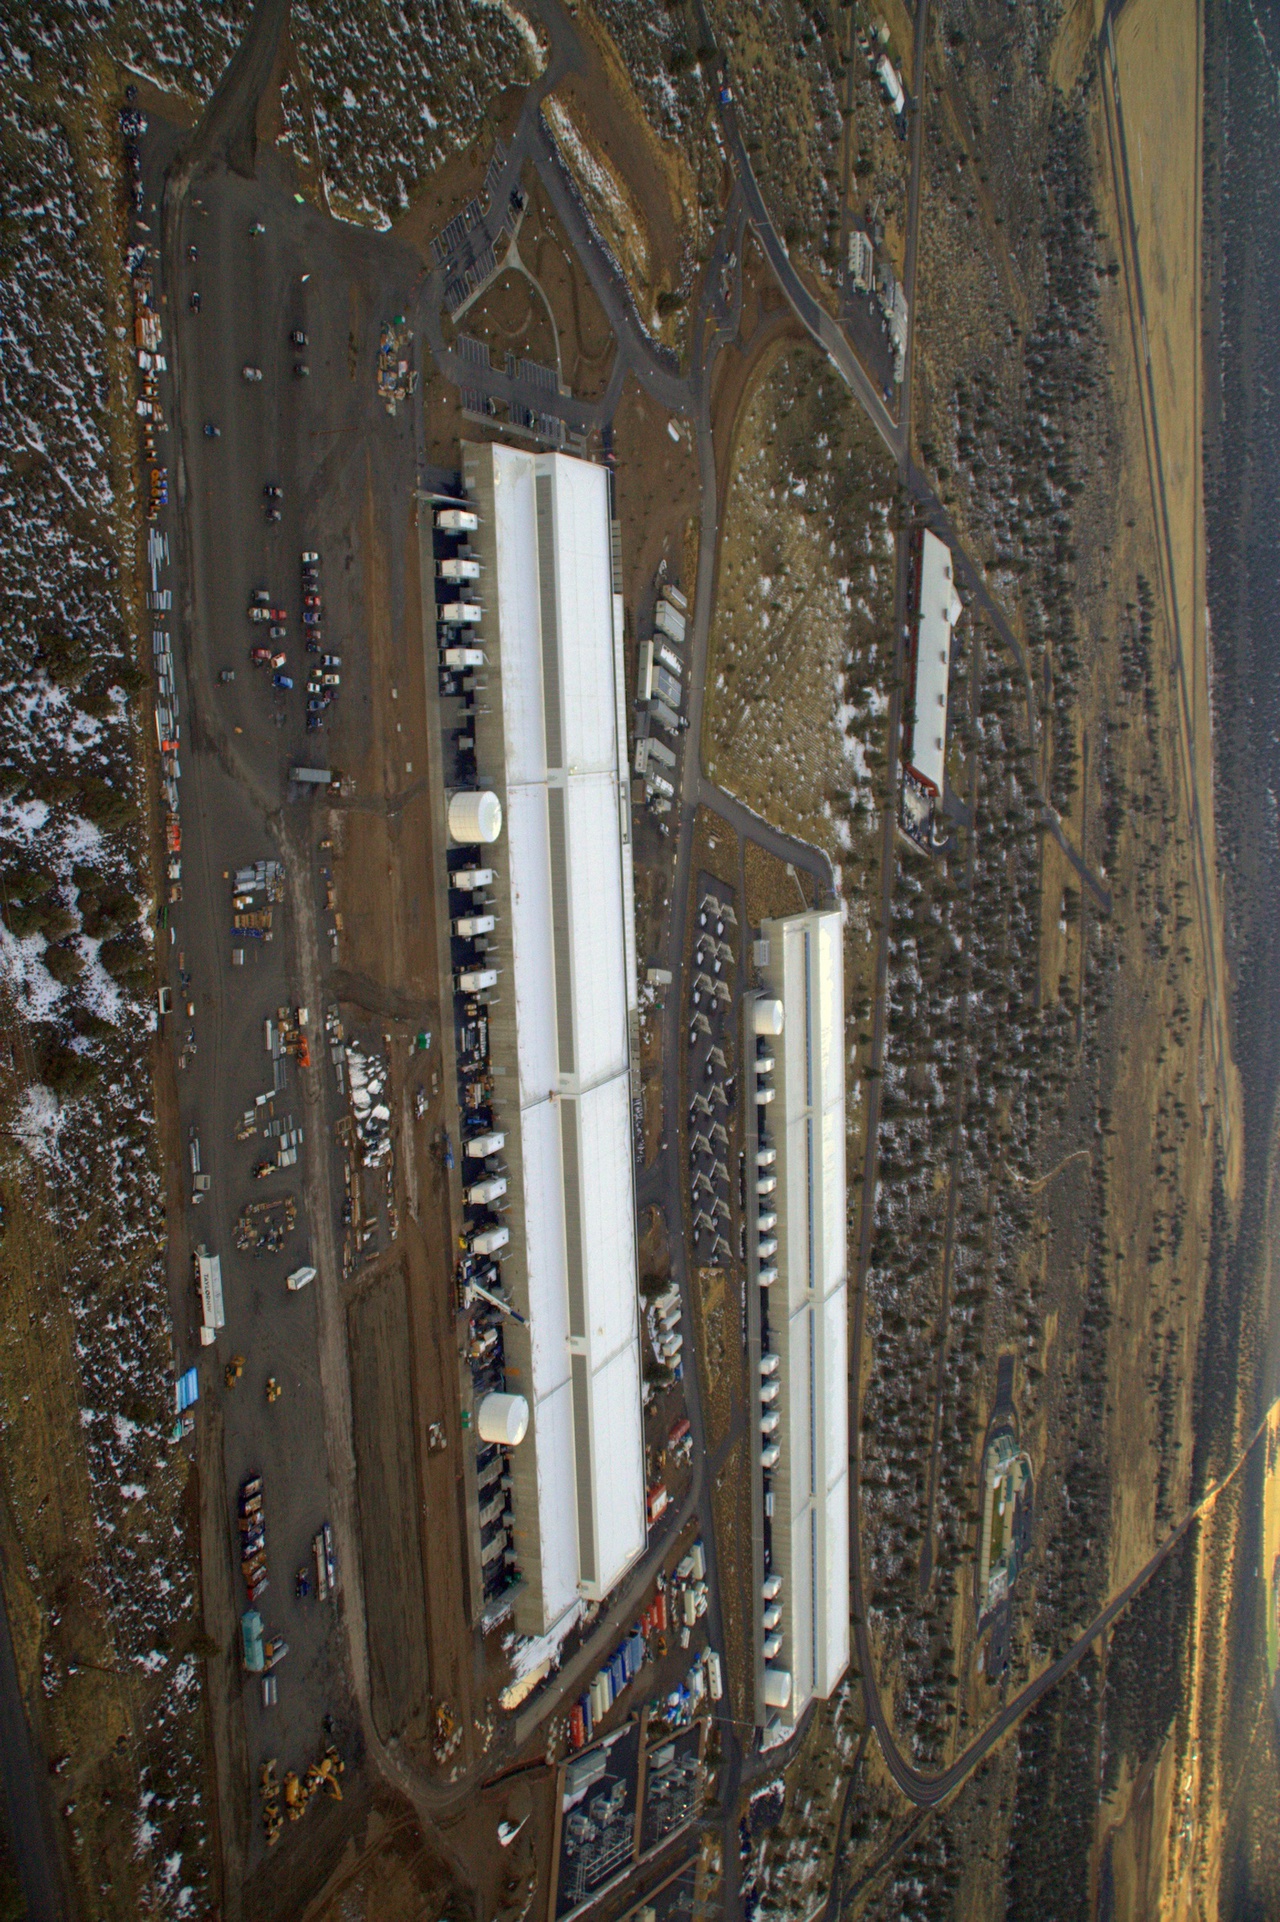
julian@ce:~/tmp$ identify datacenter.jpeg
datacenter.jpg JPEG 1280x1920 1280x1920+0+0 8-bit DirectClass 1.139MB 0.000u 0:00.000
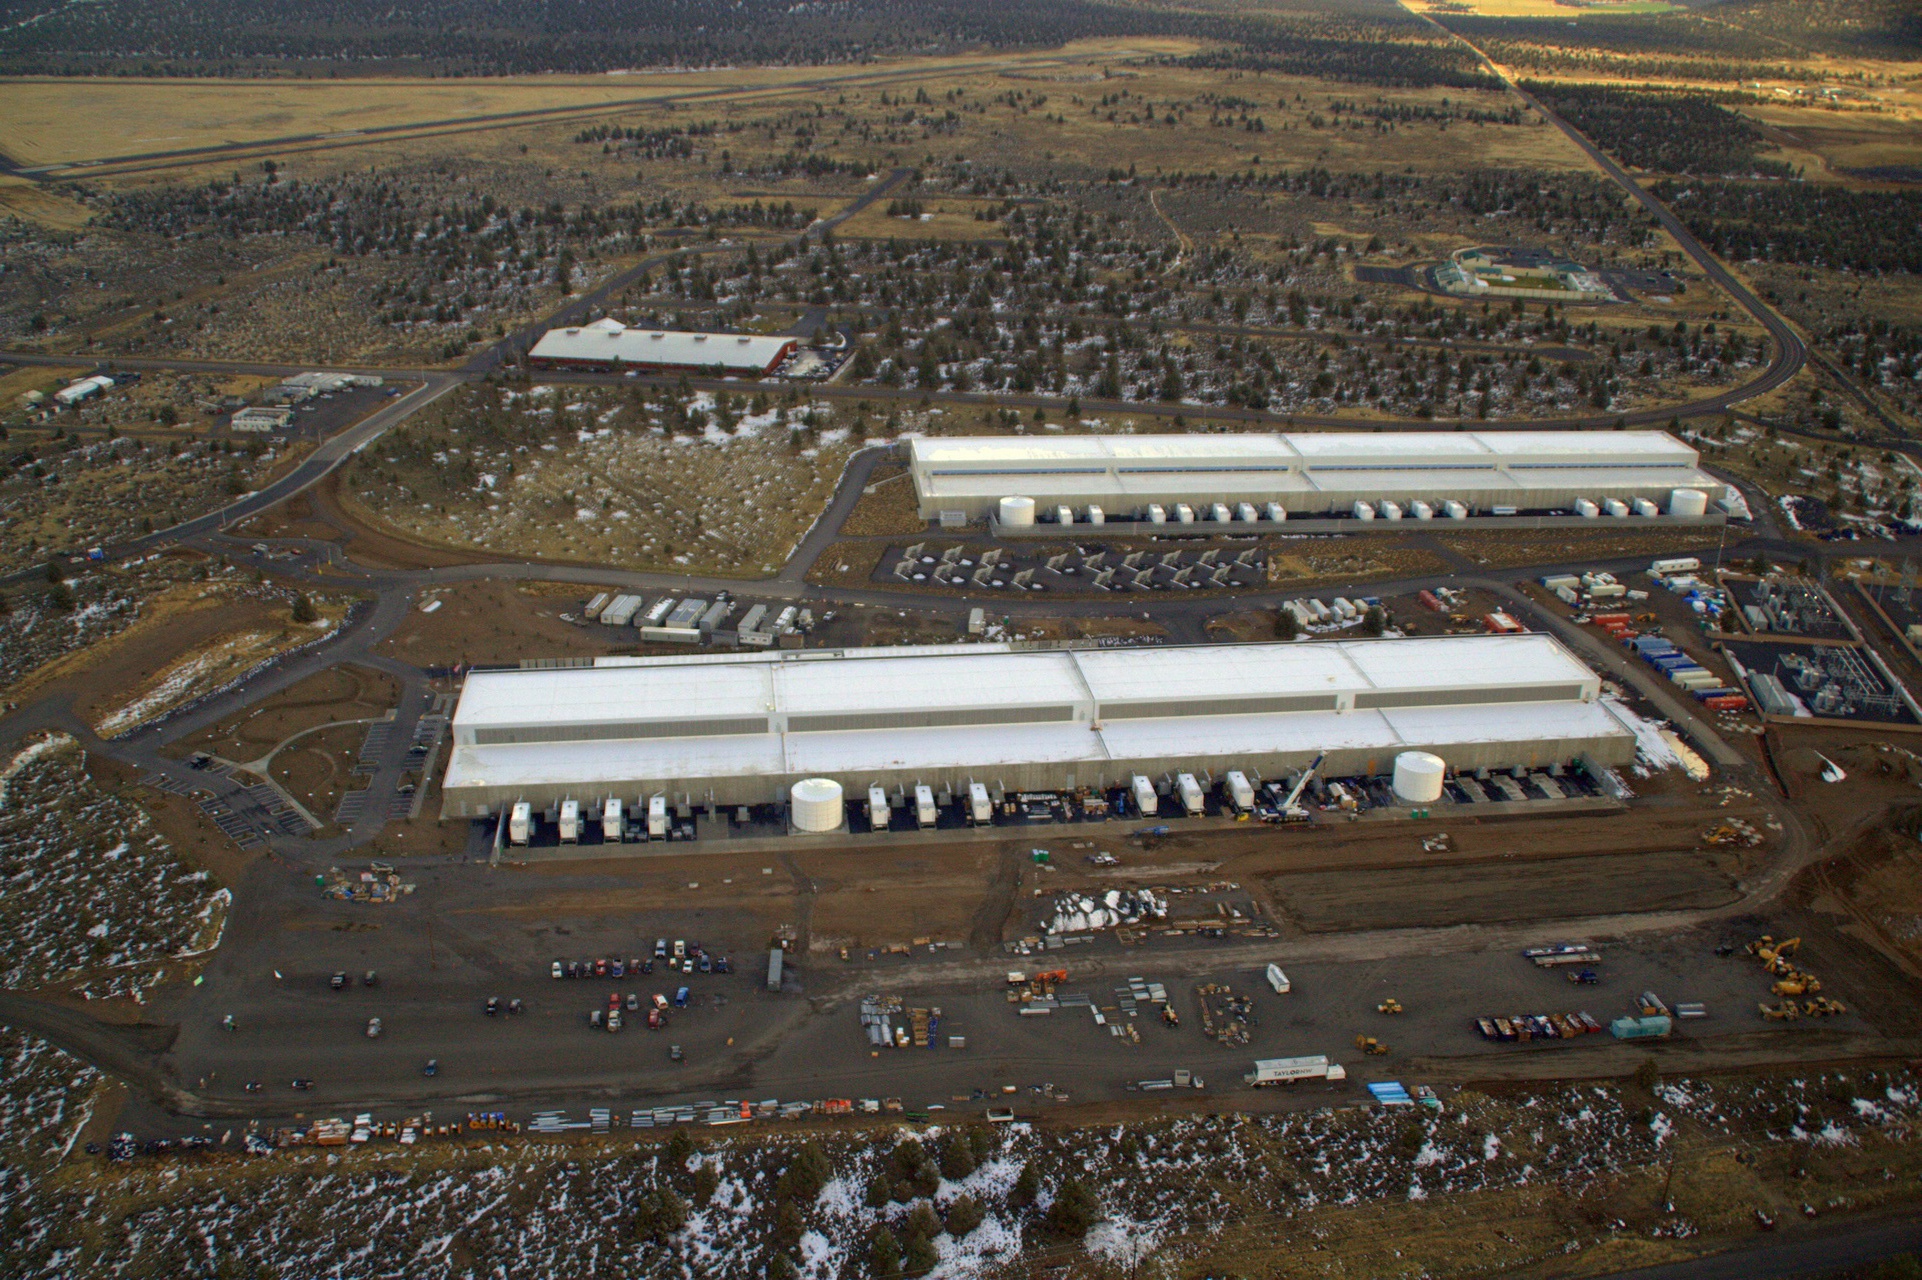
Rotating images is simple. Here we rotate it 90 degrees anti-clockwise to the portrait orientation, over-writing the original:
julian@ce:~/tmp$ convert -rotate -90 datacenter.jpeg datacenter.jpeg
We can use display from the ImageMagick suite to view the result:
julian@ce:~/tmp$ display datacenter.jpeg
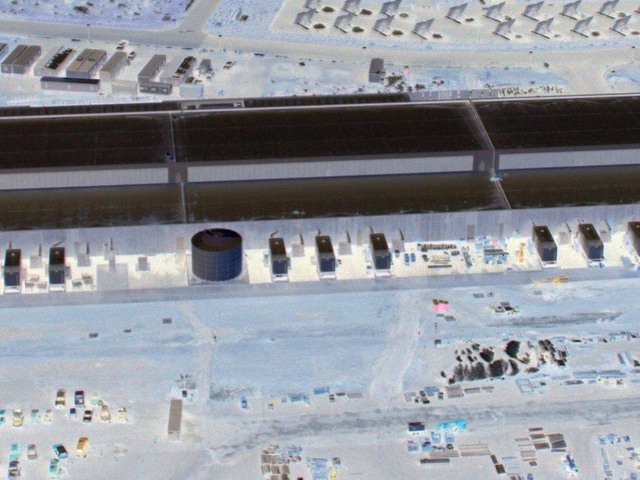
Cropping
Let’s now crop the image back so we have a focus on a particular region of the image. We’ll crop it down to an image cropped.jpeg 640x480 pixels in size starting 600 pixels in from X and starting 550 pixels from Y:
julian@ce:~/tmp$ convert -crop 640x480+600+550 datacenter.jpeg cropped.jpeg

Blurring
Here we blur our cropped image with a 10x10 pixel blur routine:
julian@ce:~/tmp$ convert -blur 10x10 cropped.jpeg blurred.jpeg

Colour inversion
We can invert the colour space of this image using the option ‘negate’:
julian@ce:~/tmp$ convert -negate cropped.jpeg inverted.jpeg
Enhancing/de-noising
Our cropped image has a little noise, which we can clean up using the -enhance option:
julian@ce:~/tmp$ convert -enhance cropped.jpeg enhanced.jpeg

Increasing contrast
White balance / contrast can be automatically adjusted:
julian@ce:~/tmp$ convert -contrast enhanced.jpeg contrast.jpeg
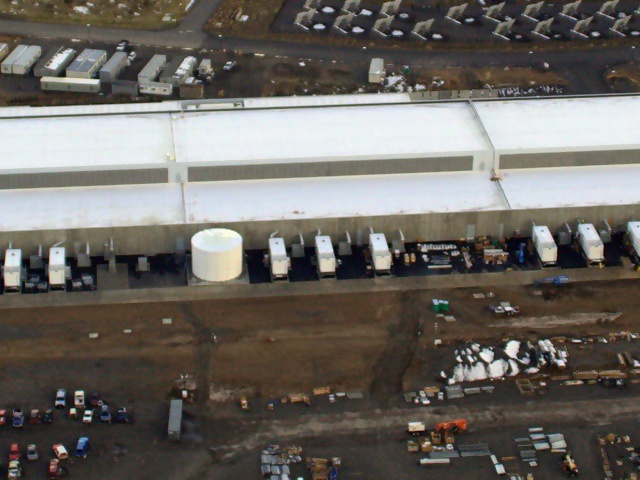
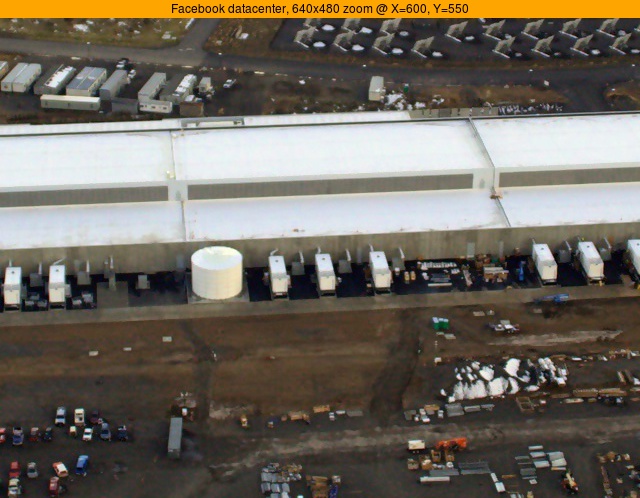
Annotating
Let’s annotate our image with some text so we know what we’re looking at. We can set the -gravity (where the annotation should occur), a background colour (from a built-in palette) and use -splice to add extra space to the image, making room for our label, ensuring we don’t write over existing pixels. Here we request 18 pixels of splice only in the Y direction. The -annotate option takes an X and Y argument, in our case we want to nudge the text down 4 pixels.
julian@ce:~/tmp$ convert -gravity North -background Orange -splice 0x18 -annotate +0+4 "Facebook datacenter, 640x480 zoom @ X=600, Y=550" contrast.jpeg final.jpeg
Further reading
These are just a few of the possibilities available with convert and ImageMagick as a whole. To get a sense of what’s possible, type:
man convert
Here is a list of available options
‑adaptive‑blur • ‑adaptive‑resize • ‑adaptive‑sharpen • ‑adjoin • ‑affine • ‑alpha • ‑annotate • ‑antialias • ‑append • ‑attenuate • ‑authenticate • ‑auto‑gamma • ‑auto‑level • ‑auto‑orient • ‑backdrop • ‑background • ‑bench • ‑bias • ‑black‑point‑compensation • ‑black‑threshold • ‑blend • ‑blue‑primary • ‑blue‑shift • ‑blur • ‑border • ‑bordercolor • ‑borderwidth • ‑brightness‑contrast • ‑cache • ‑canny • ‑caption • ‑cdl • ‑channel • ‑charcoal • ‑chop • ‑clamp • ‑clip • ‑clip‑mask • ‑clip‑path • ‑clone • ‑clut • ‑coalesce • ‑colorize • ‑colormap • ‑color‑matrix • ‑colors • ‑colorspace • ‑combine • ‑comment • ‑compare • ‑complex • ‑compose • ‑composite • ‑compress • ‑contrast • ‑contrast‑stretch • ‑convolve • ‑crop • ‑cycle • ‑debug • ‑decipher • ‑deconstruct • ‑define • ‑delay • ‑delete • ‑density • ‑depth • ‑descend • ‑deskew • ‑despeckle • ‑direction • ‑displace • ‑display • ‑dispose • ‑dissimilarity‑threshold • ‑dissolve • ‑distort • ‑distribute‑cache • ‑dither • ‑draw • ‑duplicate • ‑edge • ‑emboss • ‑encipher • ‑encoding • ‑endian • ‑enhance • ‑equalize • ‑evaluate • ‑evaluate‑sequence • ‑extent • ‑extract • ‑family • ‑features • ‑fft • ‑fill • ‑filter • ‑flatten • ‑flip • ‑floodfill • ‑flop • ‑font • ‑foreground • ‑format • ‑format[identify] • ‑frame • ‑frame[import] • ‑function • ‑fuzz • ‑fx • ‑gamma • ‑gaussian‑blur • ‑geometry • ‑gravity • ‑grayscale • ‑green‑primary • ‑hald‑clut • ‑help • ‑highlight‑color • ‑hough‑lines • ‑iconGeometry • ‑iconic • ‑identify • ‑ift • ‑immutable • ‑implode • ‑insert • ‑intensity • ‑intent • ‑interlace • ‑interpolate • ‑interline‑spacing • ‑interword‑spacing • ‑kerning • ‑label • ‑lat • ‑layers • ‑level • ‑level‑colors • ‑limit • ‑linear‑stretch • ‑linewidth • ‑liquid‑rescale • ‑list • ‑log • ‑loop • ‑lowlight‑color • ‑magnify • ‑map • ‑map[stream] • ‑mask • ‑mattecolor • ‑median • ‑metric • ‑mode • ‑modulate • ‑moments • ‑monitor • ‑monochrome • ‑morph • ‑morphology • ‑mosaic • ‑motion‑blur • ‑name • ‑negate • ‑noise • ‑normalize • ‑opaque • ‑ordered‑dither • ‑orient • ‑page • ‑paint • ‑path • ‑pause[animate] • ‑pause[import] • ‑perceptible • ‑ping • ‑pointsize • ‑polaroid • ‑poly • ‑posterize • ‑precision • ‑preview • ‑print • ‑process • ‑profile • ‑quality • ‑quantize • ‑quiet • ‑radial‑blur • ‑raise • ‑random‑threshold • ‑red‑primary • ‑regard‑warnings • ‑region • ‑remap • ‑remote • ‑render • ‑repage • ‑resample • ‑resize • ‑respect‑parentheses • ‑reverse • ‑roll • ‑rotate • ‑sample • ‑sampling‑factor • ‑scale • ‑scene • ‑screen • ‑seed • ‑segment • ‑selective‑blur • ‑separate • ‑sepia‑tone • ‑set • ‑shade • ‑shadow • ‑shared‑memory • ‑sharpen • ‑shave • ‑shear • ‑sigmoidal‑contrast • ‑silent • ‑similarity‑threshold • ‑size • ‑sketch • ‑smush • ‑snaps • ‑solarize • ‑sparse‑color • ‑splice • ‑spread • ‑statistic • ‑stegano • ‑stereo • ‑stretch • ‑strip • ‑stroke • ‑strokewidth • ‑style • ‑subimage‑search • ‑swap • ‑swirl • ‑synchronize • ‑taint • ‑text‑font • ‑texture • ‑threshold • ‑thumbnail • ‑tile • ‑tile‑offset • ‑tint • ‑title • ‑transform • ‑transparent • ‑transparent‑color • ‑transpose • ‑transverse • ‑treedepth • ‑trim • ‑type • ‑undercolor • ‑unique‑colors • ‑units • ‑unsharp • ‑update • ‑verbose • ‑version • ‑view • ‑vignette • ‑virtual‑pixel • ‑visual • ‑watermark • ‑wave • ‑weight • ‑white‑point • ‑white‑threshold • ‑window • ‑window‑group • ‑write
You can also look here, at the ImageMagick project page and also at this impressive collection of scripts that abstract over ImageMagick utilities.